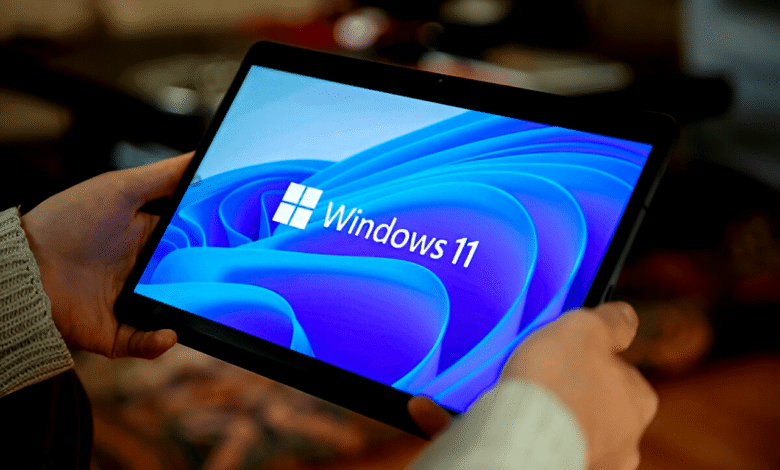
How to Install Windows 11 on Any PC
Install Windows 11 on any PC with our step-by-step guide. Bypass TPM 2.0 & Secure Boot requirements for installation on unsupported hardware.
Installing Windows 11 on any PC is possible, even if your device doesn’t meet Microsoft’s strict hardware requirements. Many users face restrictions due to missing TPM 2.0, Secure Boot, or an incompatible CPU, but with the right workarounds, you can still enjoy Microsoft’s latest OS. This guide will walk you through step-by-step methods to bypass these limitations and achieve a smooth installation.
Whether you’re using an older laptop or a custom-built PC, this tutorial covers everything from creating a bootable USB to modifying system checks. By following these instructions, you’ll be able to install Windows 11 on unsupported hardware without sacrificing performance or security.
How to Install Windows 11 on Any PC
Check Windows 11 System Requirements
Before installing Windows 11, verify your PC meets Microsoft’s minimum requirements: a 1 GHz or faster 64-bit dual-core processor, 4GB RAM (8GB recommended), 64GB storage, UEFI firmware with Secure Boot, TPM 2.0, and a DirectX 12-compatible GPU. Use Microsoft’s PC Health Check tool or third-party utilities like WhyNotWin11 to scan your hardware—these tools identify missing requirements like TPM or incompatible CPUs. If your system falls short, you can still install Windows 11 using bypass methods, but performance and update compatibility may vary.
Create a Windows 11 Bootable USB
To create a bootable Windows 11 USB, first download the official ISO from Microsoft’s website or use the Media Creation Tool. Next, insert a USB drive (8GB minimum) and use Rufus (recommended for advanced options) or the built-in Windows USB/DVD Download Tool to format the drive and burn the ISO. In Rufus, select GPT partition scheme for UEFI (required for modern systems) and NTFS file system, then start the process—this ensures compatibility with both TPM-enabled and unsupported hardware. Once complete, safely eject the USB, and it’s ready for installation.
Bypass TPM and Secure Boot Requirements
Understand the Official Requirements First
Microsoft mandates TPM 2.0 and Secure Boot for Windows 11 installation. These security features verify your PC’s compatibility. However, many capable older systems lack these specific components. Knowing the exact requirements helps determine which bypass method to use.
Modify Registry During Installation
Boot from USB and press Shift+F10 at installer screen to open Command Prompt. Type “regedit” and navigate to HKEY_LOCAL_MACHINE\SYSTEM\Setup. Create a LabConfig key with BypassTPMCheck and BypassSecureBootCheck DWORD values set to 1. This tweak tricks the installer into proceeding.
Use Modified ISO Files
Download or create a custom Windows 11 ISO with removed compatibility checks. Tools like Rufus can automatically create modified installation media. This method completely bypasses hardware verification without manual registry edits during setup.


Edit Installation Files Manually
Mount the official ISO and modify the install.wim file. Replace appraiserres.dll in sources folder with one from Windows 10 ISO. This file handles compatibility checks and swapping it effectively disables TPM/Secure Boot verification while keeping other features intact.
Consider Potential Limitations
Bypassing requirements may affect future updates and security features. Some Windows 11 functionalities like BitLocker encryption might not work properly. Always weigh the trade-offs between accessibility and security before proceeding with these methods.
Alternative Installation Methods
Try upgrading from Windows 10 using registry hacks first. Some users report success with in-place upgrades that don’t enforce requirements as strictly. This can be less disruptive than clean installs while achieving similar results.
Install Windows 11 on Your PC
Prepare Your Installation Media
Download the official Windows 11 ISO from Microsoft’s website or use the Social media Creation Tool. Create bootable USB using Rufus (for advanced options) or the built-in Windows tool. Ensure your USB has at least 8GB storage and is formatted correctly.
Configure BIOS/UEFI Settings Properly
Restart your PC and enter BIOS/UEFI (typically by pressing F2/DEL). Enable Secure Boot, TPM (if available), and set boot mode to UEFI. Change boot order to prioritize your USB drive for installation. These settings are crucial for successful installation.
Launch Windows 11 Setup Process
Insert bootable USB and restart your computer. Follow on-screen prompts to begin installation. When prompted for product key, select “I don’t have a product key” to proceed (you can activate later). Choose “Custom Install” for clean installation.
Partition Your Hard Drive Correctly
Delete existing partitions (backup data first) and select unallocated space. The installer will automatically create necessary partitions (EFI, MSR, etc.). For best performance, install on an SSD if available. Allocate at least 64GB space for system files.
Complete Initial Setup Configuration
After installation, configure regional settings, keyboard layout, and user account. For local account creation, disconnect from internet during setup. Customize privacy settings according to your preferences before finalizing the installation.
Install Essential Drivers and Updates
Run Windows Update immediately after installation to get critical drivers. Download manufacturer-specific drivers (especially for GPU, chipset, and network adapters) for optimal performance. Verify all hardware components are functioning properly in Device Manager.
Update and Optimize Windows 11
Install Critical System Updates
After successfully installing Windows 11, your first priority should be downloading the latest updates. Open Settings > Windows Update and click “Check for updates.” Install all available patches, including security updates and driver improvements. Regular updates ensure system stability and protect against vulnerabilities.
Update Device Drivers Manually
While Windows Update handles basic drivers, visit your hardware manufacturers’ websites for optimal performance. Update your GPU, chipset, audio, and network drivers to prevent compatibility issues. Use Device Manager to verify all components are functioning correctly without warning symbols.
Disable Unnecessary Startup Programs
Speed up boot times by managing startup apps through Task Manager (Ctrl+Shift+Esc). Disable resource-heavy applications that launch automatically. This reduces memory usage and improves overall system responsiveness, especially on older hardware.
Optimize Power
Adjust your power plan to High Performance in Control Panel > Hardware and Sound > Power Options. For laptops, balance between battery life and speed. Additionally, enable Game Mode in Settings for better resource allocation during demanding tasks.
Clean Up Storage
Free up space by running Disk Cleanup and uninstalling pre-installed apps you don’t need. Use Storage Sense to automatically delete temporary files. For deeper optimization, consider debloating Windows 11 using tools like BloatBox or manual PowerShell commands.
Enhance Security
Review Windows Security settings to ensure real-time protection is active. Customize privacy options under Settings > Privacy & Security to limit background app permissions. Disable unnecessary tracking features for a faster, more private experience.
Fine-Tune Visual Effects for Speed
If your PC struggles with animations, disable visual enhancements via System > About > Advanced system settings > Performance Options. Select “Adjust for best performance” or manually disable effects like transparency and animations for smoother operation.
Read More: How to Free Up Space on Your iPhone Without Deleting Photos
Conclusion
Installing Windows 11 on any PC is an achievable task, even if your hardware doesn’t meet Microsoft’s official requirements. By following the steps outlined in this guide bypassing TPM 2.0, Secure Boot, and CPU checks you can enjoy the modern features of Windows 11 without needing expensive upgrades. This method ensures that older machines remain functional and secure while benefiting from Microsoft’s latest optimizations.
However, it’s important to note that unofficial installations may come with risks, such as potential compatibility issues with future updates. Microsoft could enforce stricter validation checks, so users should weigh the pros and cons before proceeding. If done correctly, installing Windows 11 on any PC can breathe new life into aging hardware, offering a seamless and enhanced computing experience. Always back up your data before making system changes to avoid any unexpected complications.
FAQs
Can I install Windows 11 without TPM 2.0?
Yes, you can bypass the TPM 2.0 requirement using registry edits or a modified ISO.
Will Windows 11 run slower on unsupported hardware?
Performance depends on your PC’s specs, but it should run smoothly if it meets minimum CPU/RAM requirements.
Is this installation method safe and legal?
While it’s technically safe, Microsoft doesn’t officially support it, and future updates may require workarounds.
Can I still get Windows Updates after bypassing requirements?
Yes, but Microsoft may block updates for unsupported devices in the future.
How can I revert to Windows 10 if needed?
You can clean install Windows 10 using a bootable USB, but back up your data first.